Editor Interface Basics - 01
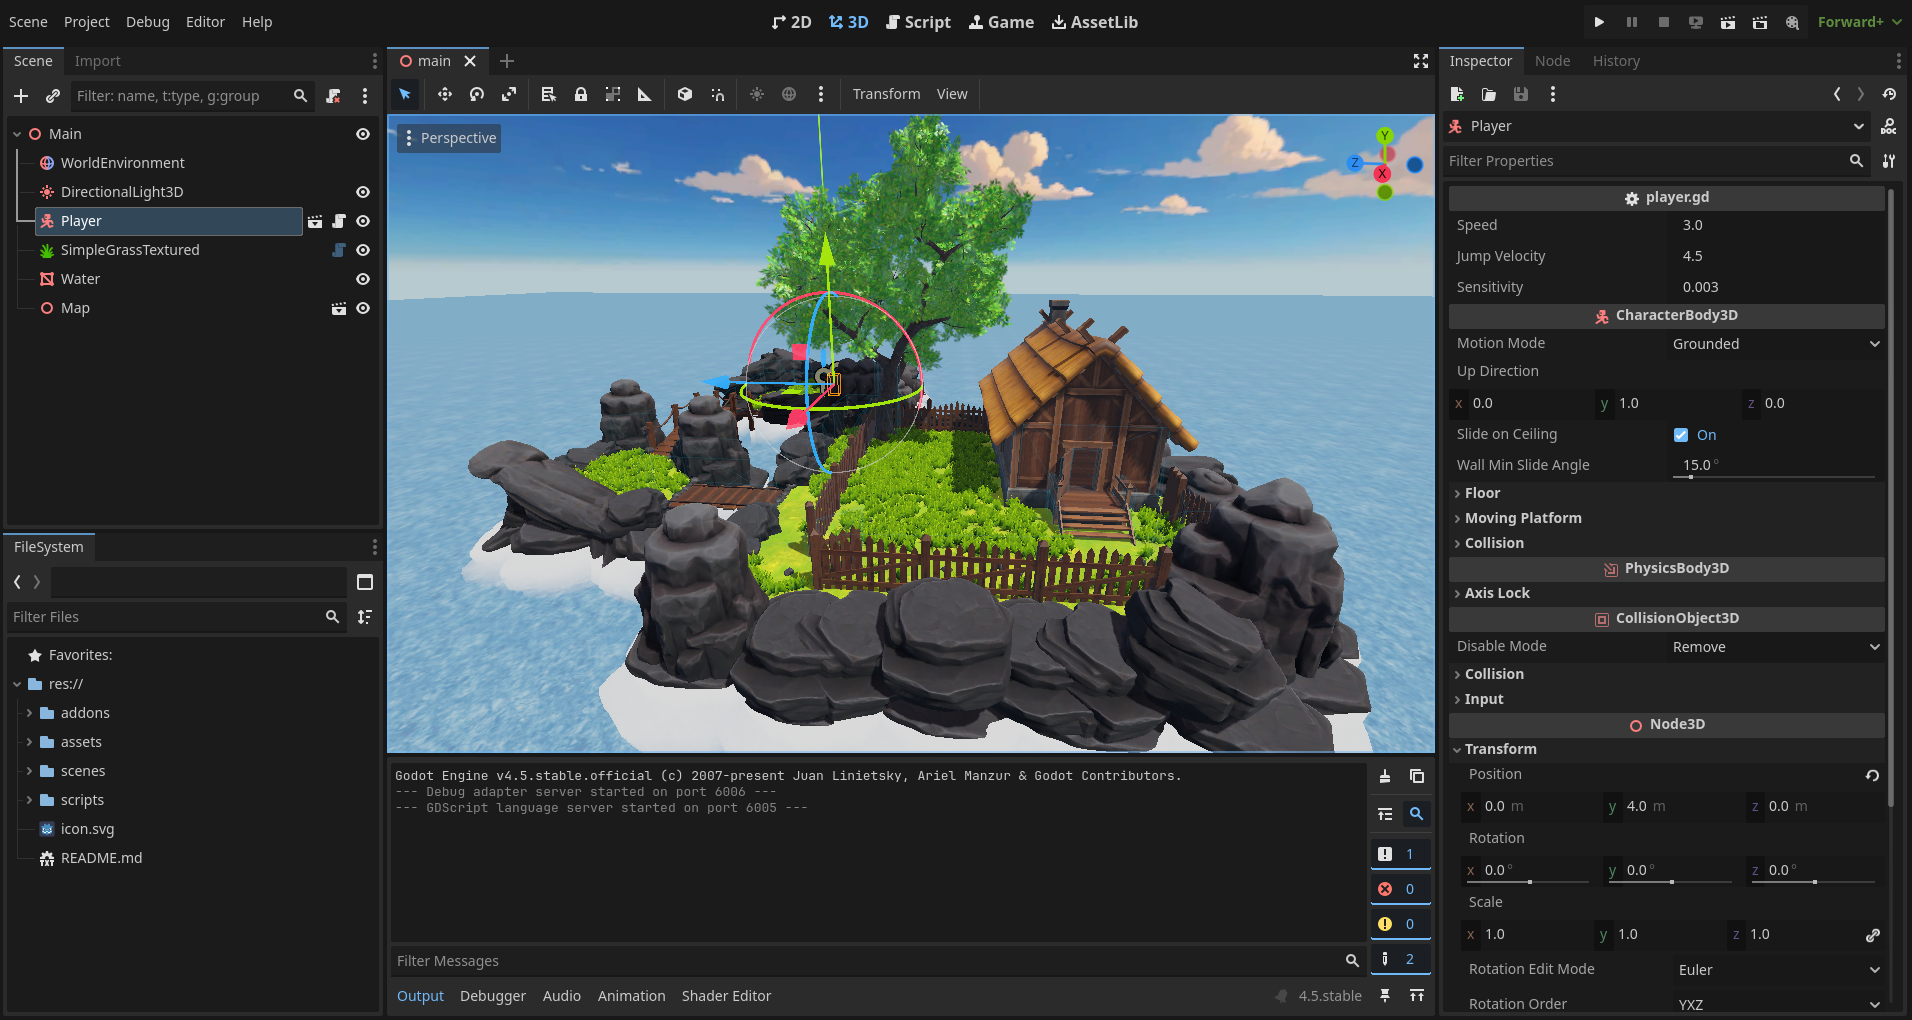
Here’s what the finished project interface looks like:
Let’s do some practice to get familiar with the editor interface.
We’ve already created our empty project, so now let’s start adding things.
Demo Scene
In your Scene Panel, select 3D Scene as the root node.
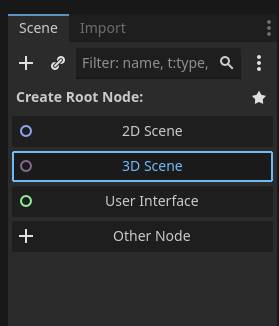
Now it should look like this:

Rename Node3D to Demo.
You can do it by double-clicking on Node3D,
or right-click and choose Rename.

Next, we’re going to save the scene.
Press Ctrl + S to save it.
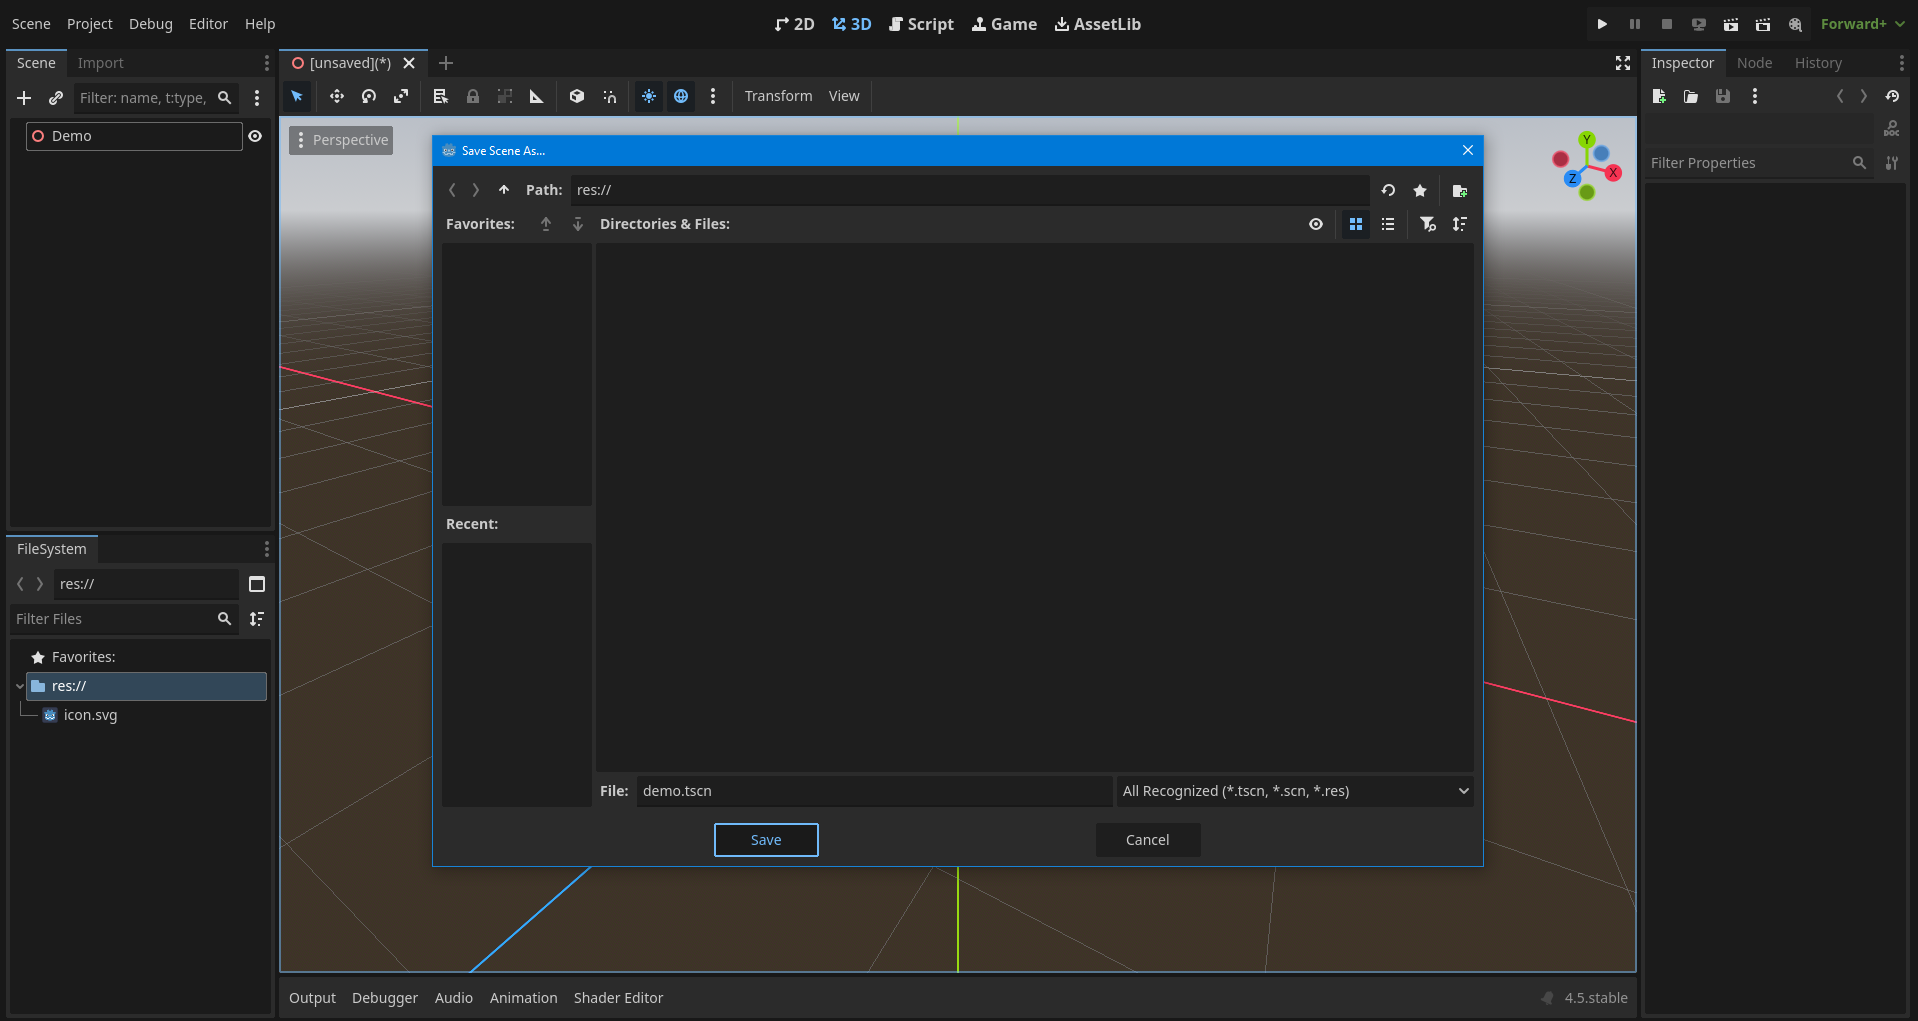
You can give it a custom name, but I’ll leave it as demo.tscn. Press Save.
Every scene in Godot is saved as a .tscn file. It’s like a container that holds all your nodes and their settings.
Make it a habit to save your project often. It only takes a second, and it can save you from losing work later!
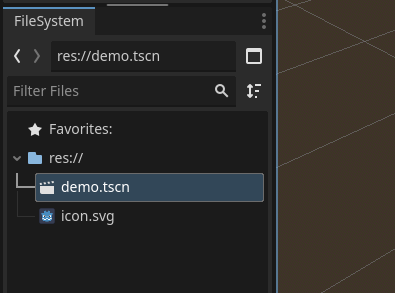
After saving, you’ll see your demo.tscn file in the FileSystem panel.
Nodes
In Godot, nodes are the building blocks of everything.
Each node has its own job - like showing a 3D model, playing sound, or handling physics.
You connect and organize them to make your game.
Think of nodes as “game parts.” You combine different nodes to build what you need.
For example, a light node to light the scene or a camera node to see the world.
In this scene, Demo is our root node. We can add child nodes under it to build the game.
Right-click on the root node, then click Add Child Node.
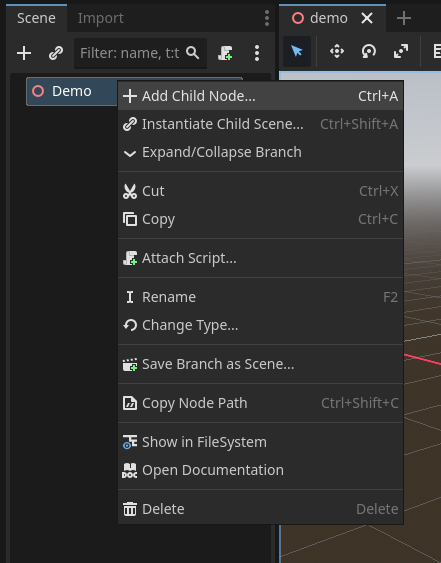
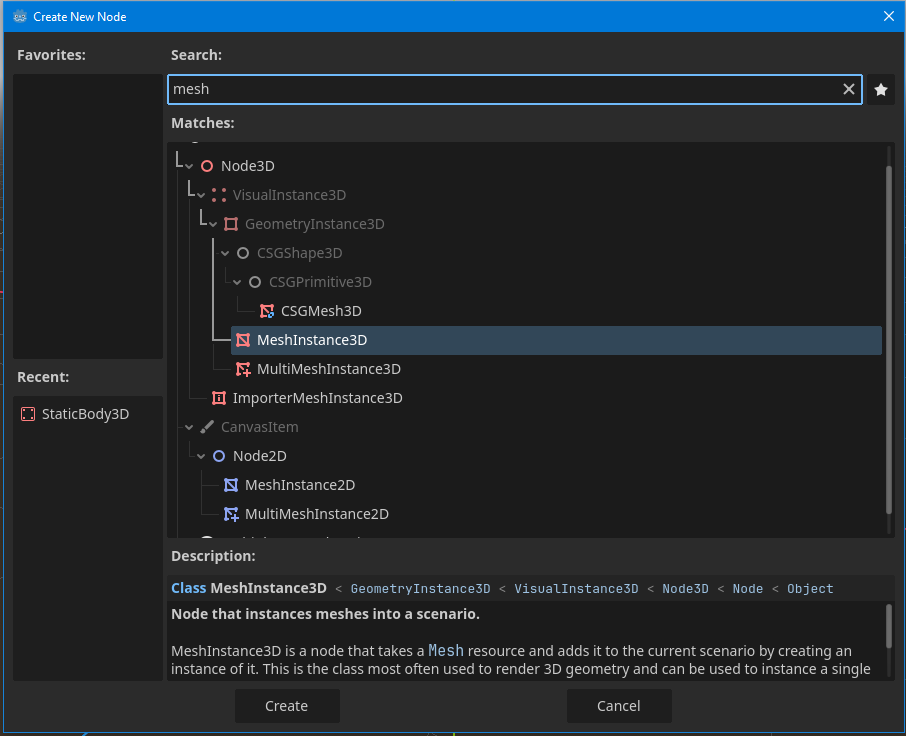
Create New Node window will pop up.
Search for StaticBody3D, then click Create.

You don’t need to type the whole word when searching for a node. Just type the first few letters (like “sta” for StaticBody3D), and Godot will show suggestions.
Now let’s add another child node - this time under the StaticBody3D node.
Right-click on StaticBody3D, choose Add Child Node,
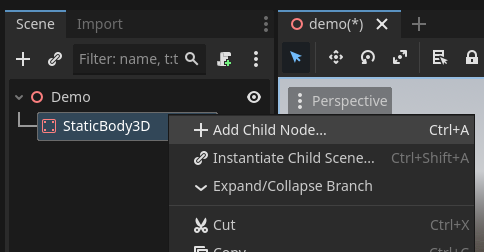
search for MeshInstance3D, and click Create.
Now it should look like this:

When you select MeshInstance3D in the Scene panel,
you’ll notice that the Inspector changes to show its properties.
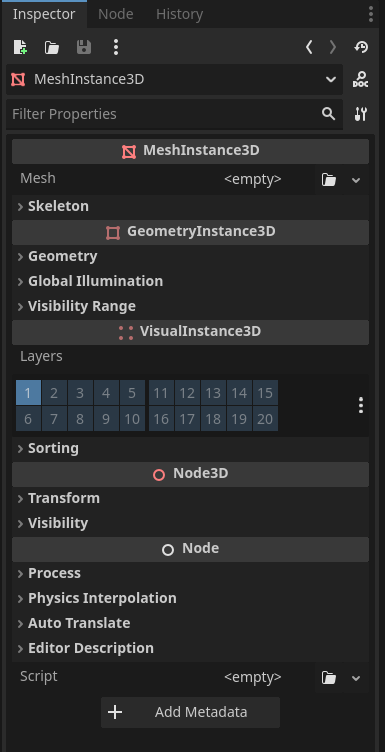
Here, you’ll see a Mesh property. It’s empty by default -
that’s why you can’t see anything in the viewport.
Click the little arrow next to it, and choose BoxMesh.
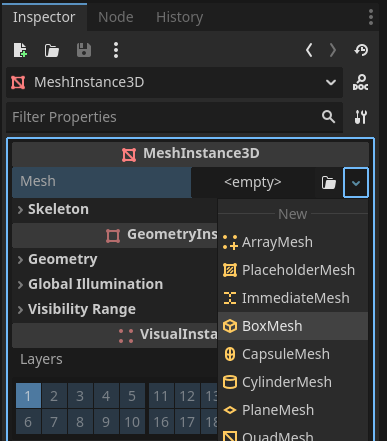
Now you should see a box in the viewport. That’s what a mesh does!
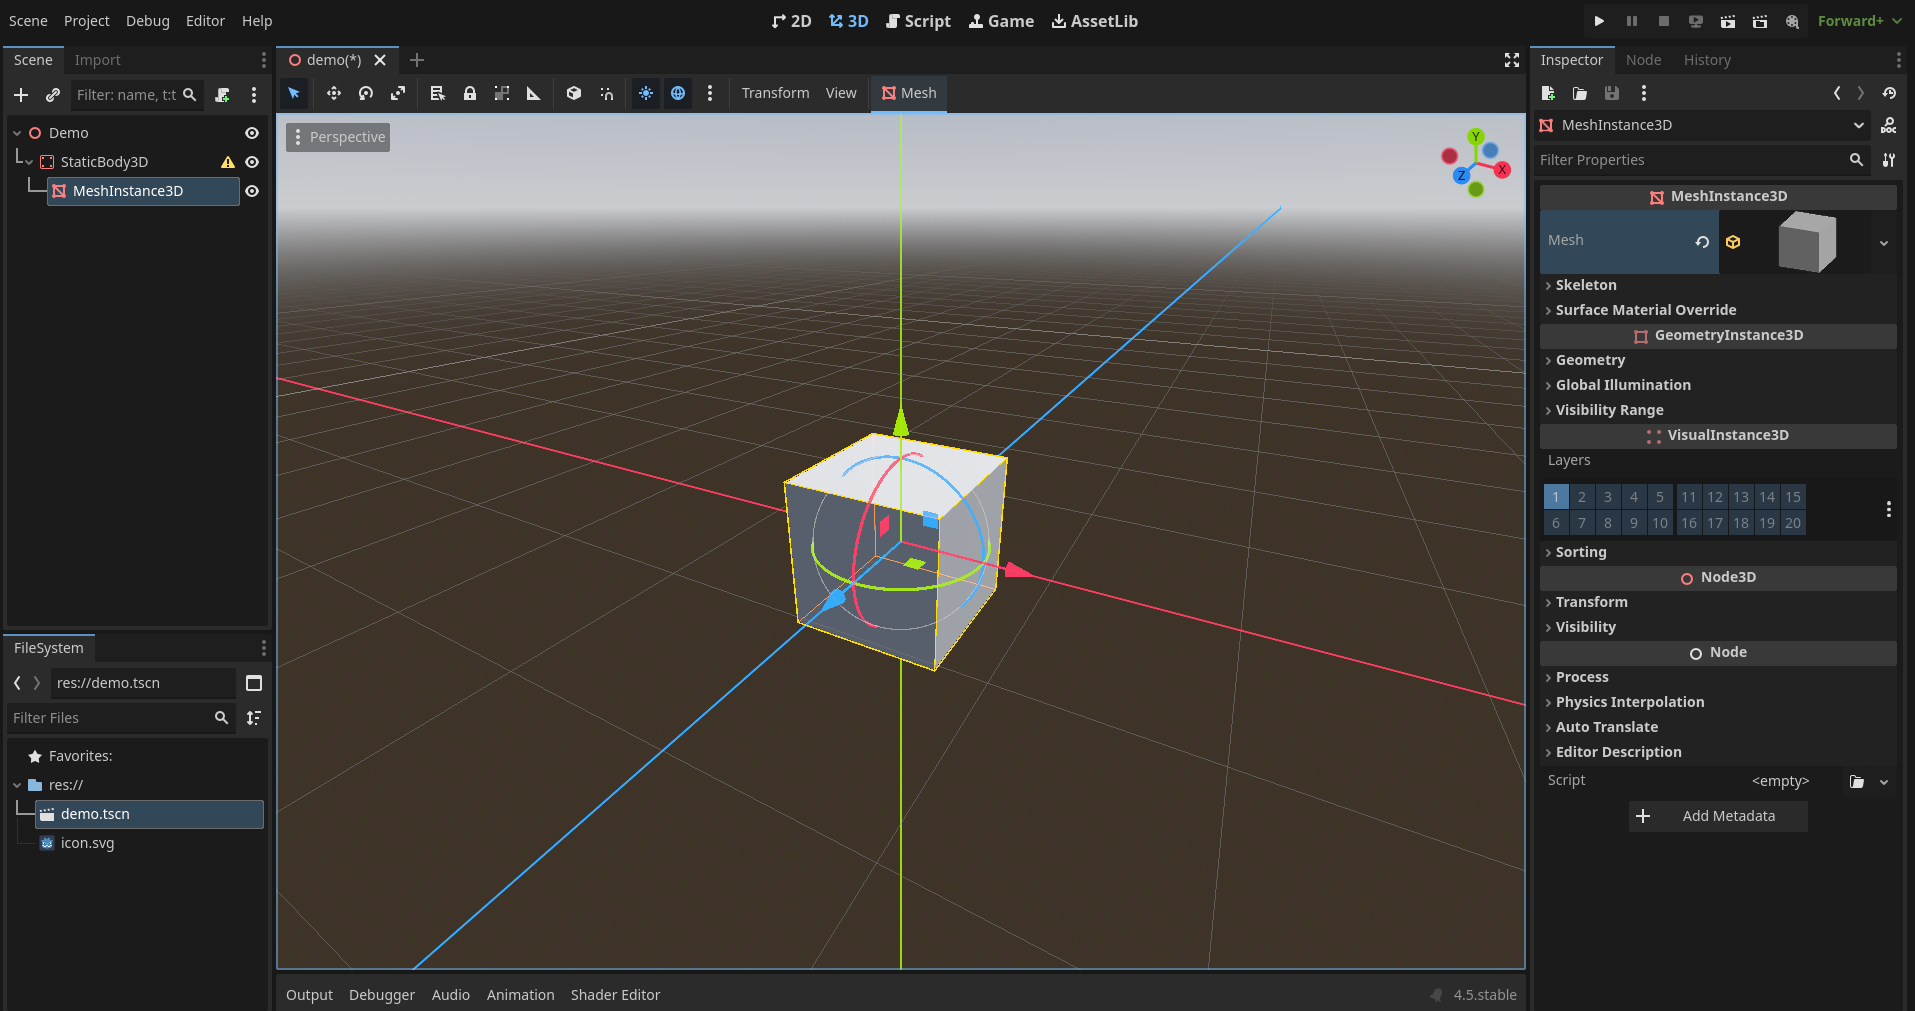
Meshes are 3D shapes like cubes, spheres, or custom models. They give your objects a visible form.
Adding a Collision
Let’s add another child node for the StaticBody3D.
You can right-click and add it like before,
or use the shortcut Ctrl + A to open the “Create New Node” window quickly.

Shortcuts save a lot of time. You can see them in dropdown menus next to each option.
Don’t worry about memorizing all of them right now - just notice them, and you’ll start using them naturally.
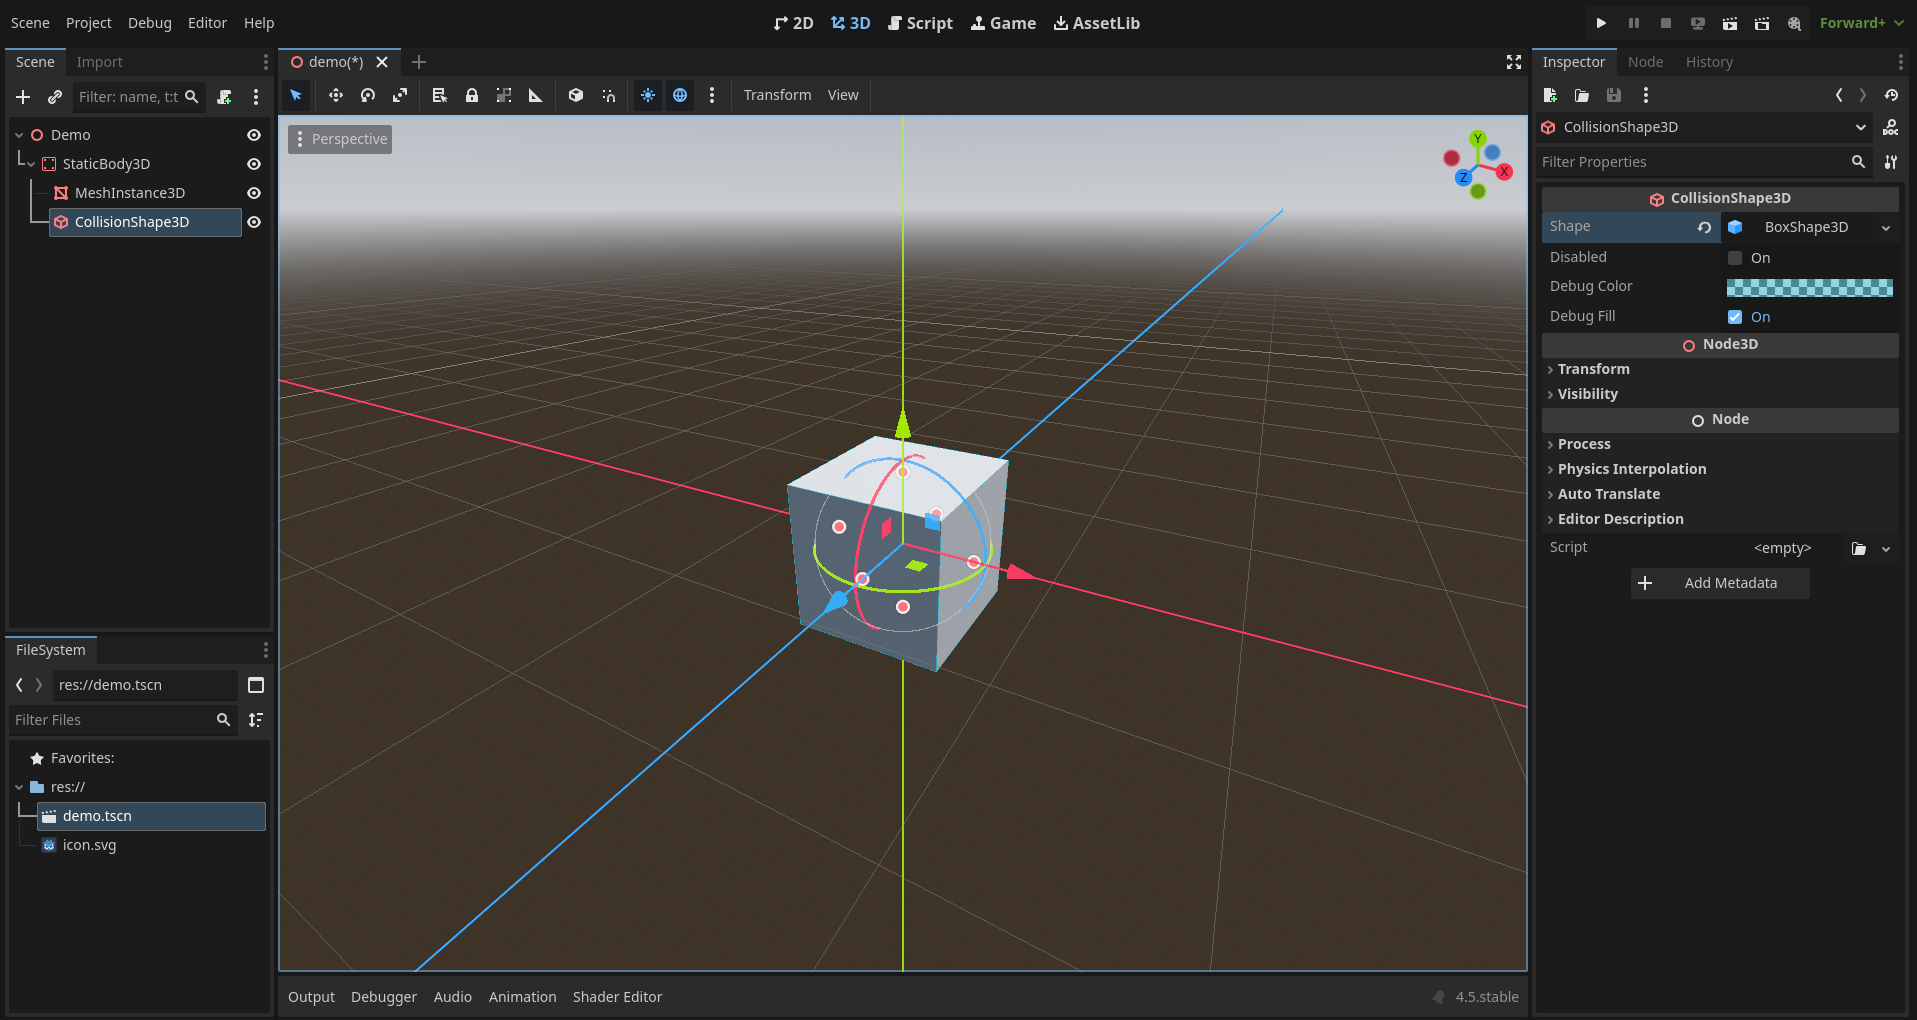
Now search for CollisionShape3D and click Create.

In the Inspector, set the Shape property to BoxShape3D.
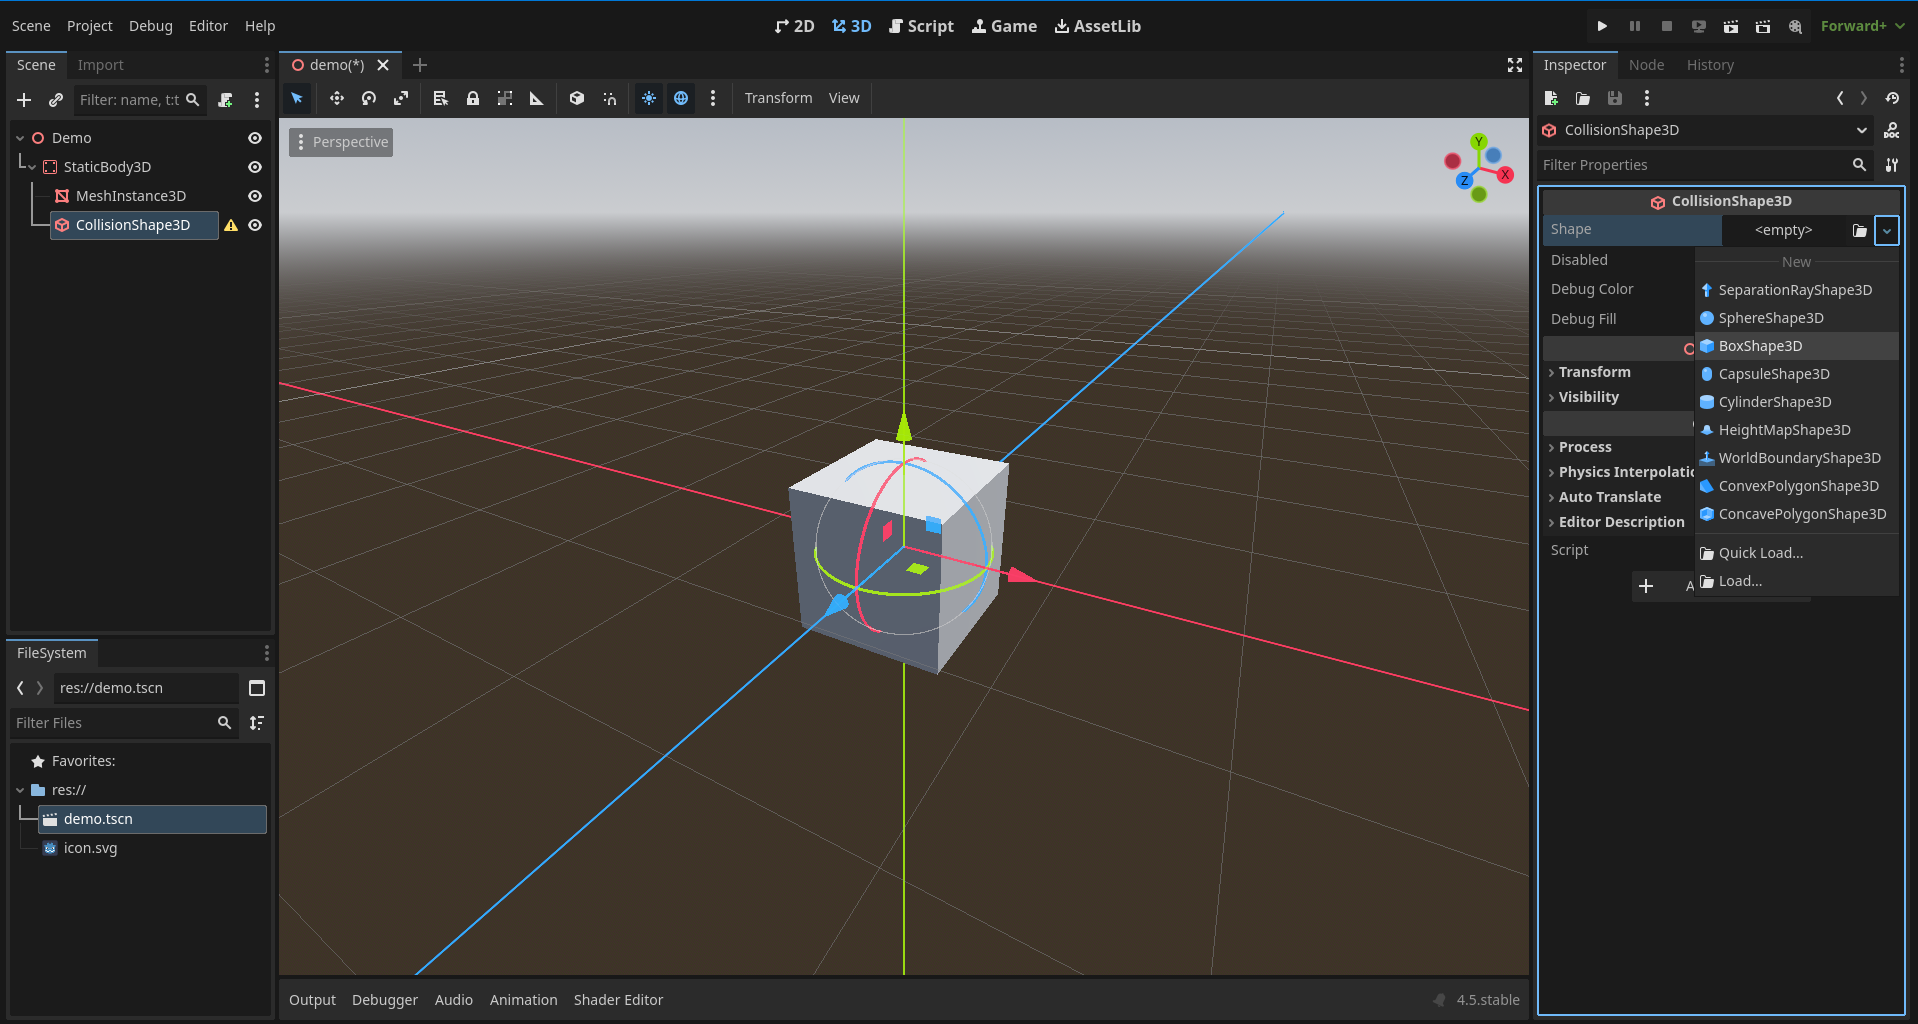
You should now see a box outline - that’s the collision area!
Rename StaticBody3D to TheBox.
You can right-click → Rename or double-click the name.
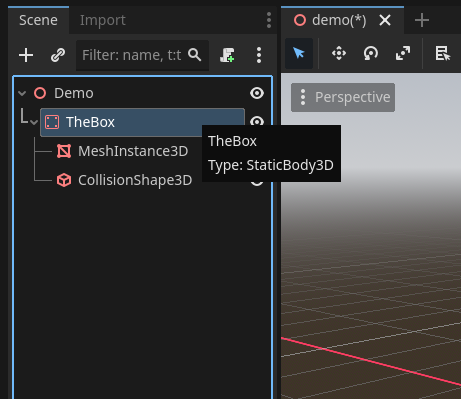
Renaming nodes helps keep your project organized, especially as it grows.
If you ever want to check what type a node is, just hover your mouse over its name - a tooltip will show its type.

You can also delete, copy, or duplicate nodes using the right-click menu.
Root, Parent, and Child
It’s a good time to clarify these terms.
In Godot, everything is built in a tree structure. Each node can have a parent and one or more children. This helps organize your project clearly.
- The Root Node is the topmost node in the scene. Everything else in that scene is connected to it in some way.
- A Parent Node is any node that has one or more child nodes under it.
- A Child Node is a node that is attached under another node (its parent).
This structure helps Godot know how things relate to each other - for example, if you move the parent, all its children move with it.

In our example, Demo is the root node.
TheBox has two child nodes - MeshInstance3D and CollisionShape3D.
Those two nodes share the same parent, which is TheBox.
And TheBox itself has a parent: Demo, the root node.
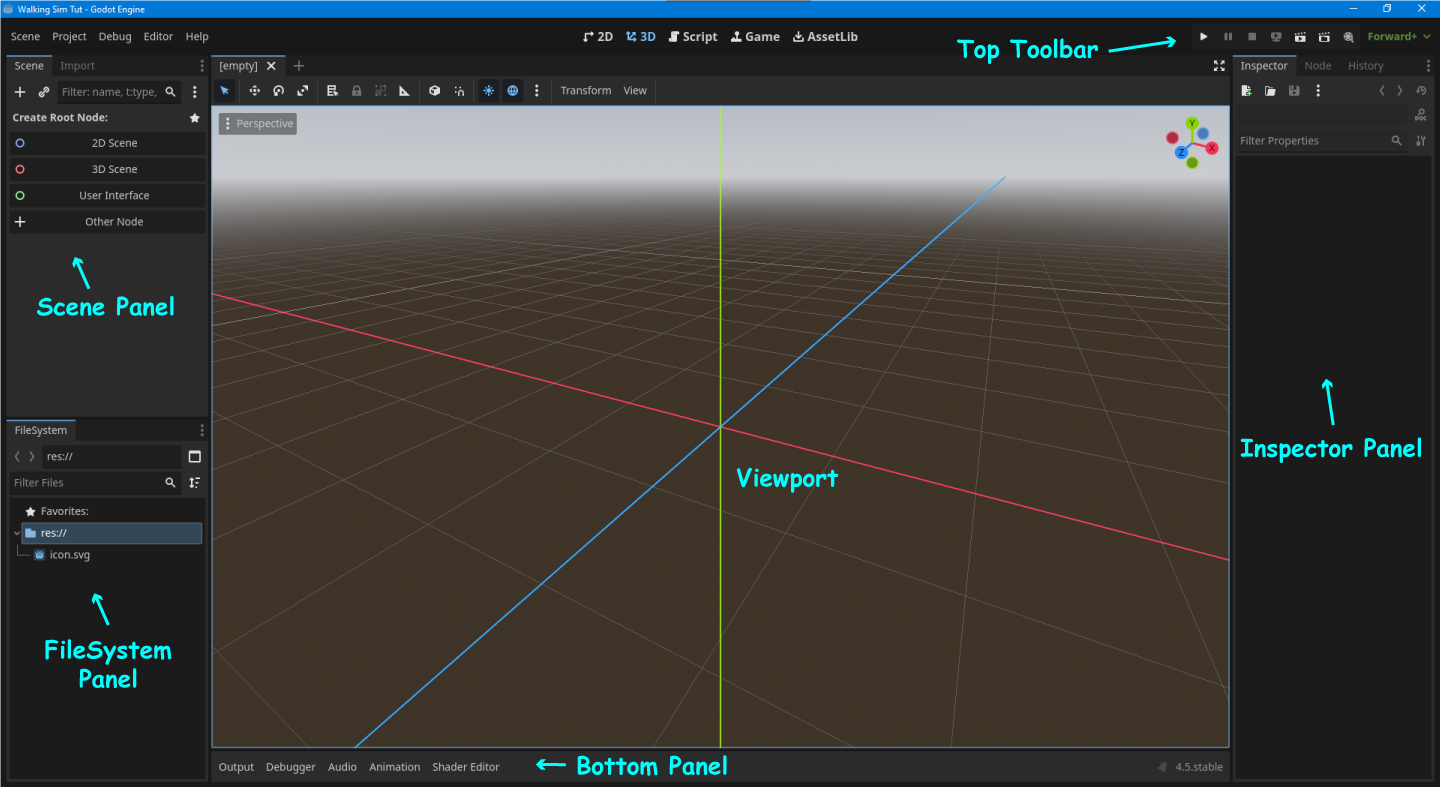
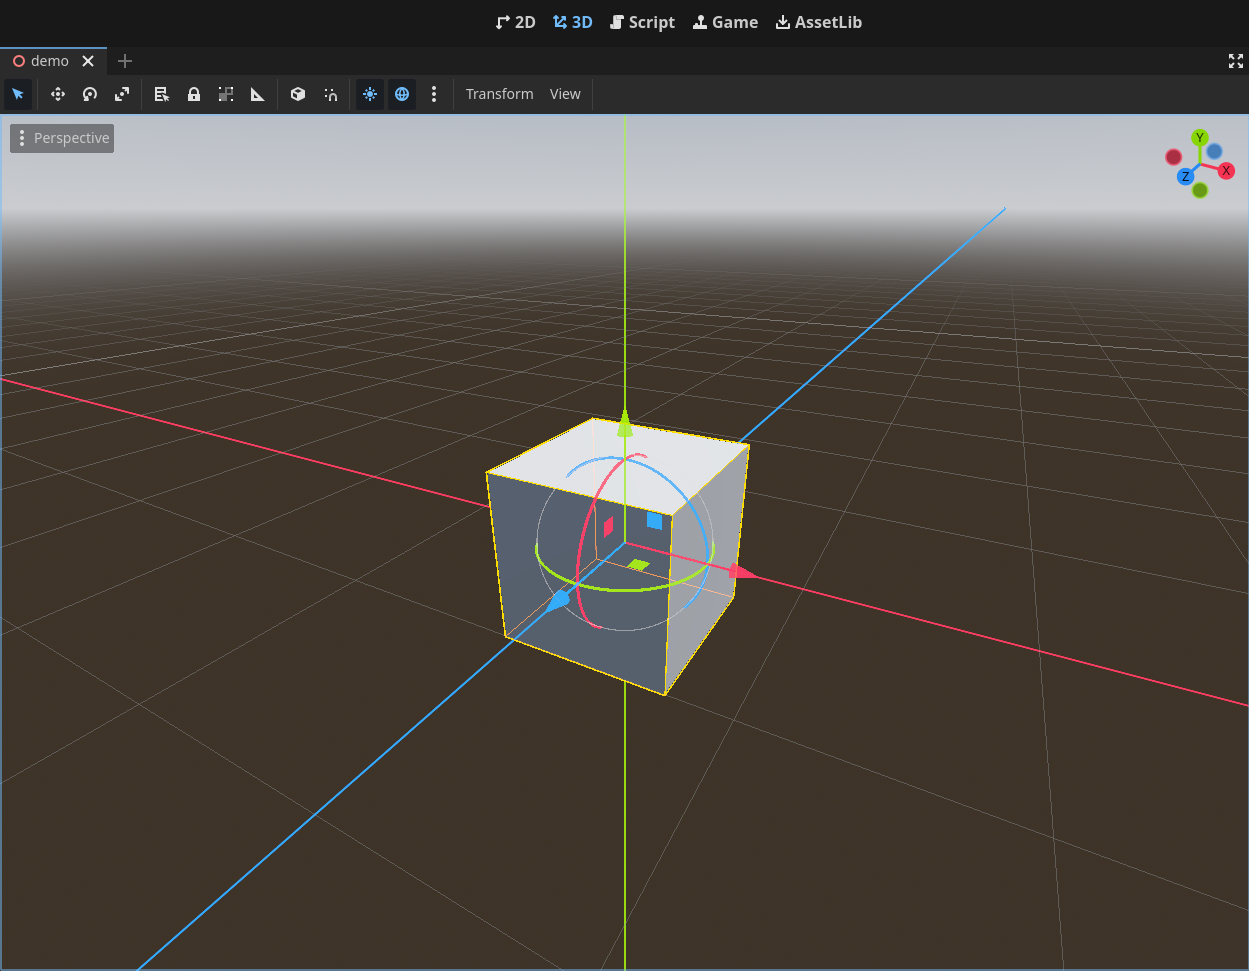
The Viewport
Let’s talk about one of the most important areas - the Viewport.
This is where you build your levels and see your game world.
You’ll find tools at the top for Move (W), Rotate (E), and Scale (R).
You can also navigate using your mouse:
- Right-click and drag to look around
- Hold Right-click + use W, A, S, D keys to move the camera (like in a first-person game)
- Hold Shift while moving to move faster
- Scroll wheel to zoom in and out
- Middle-click and drag to pan
- Press F to focus on the selected object
The colored arrows in the viewport show the axes:
- Red (X)
- Green (Y)
- Blue (Z)
Don’t worry about mastering everything now.
You’ll naturally get better at using the viewport as we go.
It’s not hard - just keep practicing and having fun. You’ll get comfortable faster than you think!